How to Replace an Outdoor Faucet
Replacing an outdoor faucet may sound tricky, but you can tackle this plumbing project independently with the right tools and basic know-how. Whether your faucet leaks, is damaged, or just needs an update, learning how to replace it before calling a plumber can save you time and money. Here’s a step-by-step guide by Mr. Rooter Plumbing to help you do the job like a pro.
Why Replace an Outdoor Faucet?
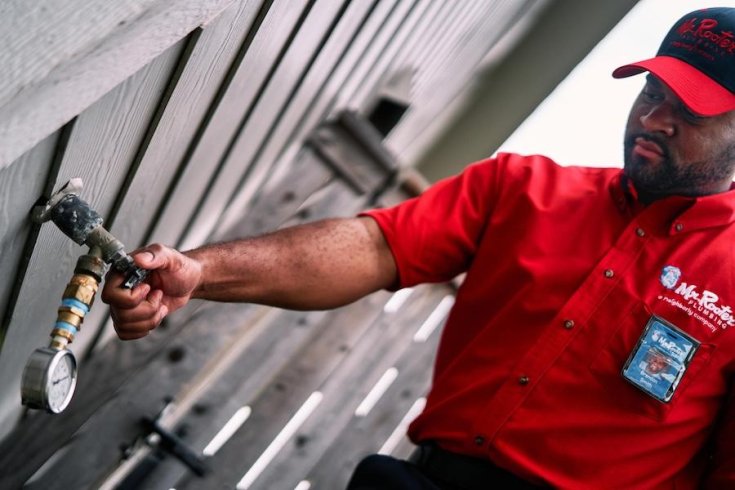
Outdoor faucets, called hose bibs, are exposed to the elements year-round. Over time, they can wear out, leading to leaks or inefficient water flow. A leaky faucet can waste a surprising amount of water, driving up your utility bill. In some cases, a damaged faucet might affect the rest of your home’s plumbing system, making it essential to act quickly. If the issue seems beyond your skills, contacting a plumber or a plumbing repair service might be the best choice.
What You’ll Need
Before starting, gather the necessary tools and materials. Here’s what you’ll need:
- A wrench or pliers
- Pipe thread tape (also called Teflon tape)
- A replacement faucet (make sure it matches the size and thread of your old one)
- A bucket or towel (to catch any remaining water)
- Safety gloves (optional)
If you’re unsure about the size or type of replacement faucet to buy, a quick call to a local plumbing service can provide helpful guidance.
Step 1: Turn Off the Water
The first and most important step is turning off the water supply to your outdoor faucet. Locate the shut-off valve, often found inside your home near where the outdoor faucet connects to the plumbing system. Turn the valve clockwise to close it completely. If you’re unsure where to find it, a plumber can help identify the correct valve.
Step 2: Drain Any Remaining Water
Once the water supply is off, open the outdoor faucet to let out any remaining water. This will prevent a mess when you remove the faucet. Use a bucket or towel to catch any drips.
Step 3: Remove the Old Faucet
Use a wrench or pliers to grip the base of the old faucet and twist it counterclockwise. It might take some effort, especially if the faucet has been in place for a long. If it feels stuck, avoid using excessive force, as this could damage the pipe. In such cases, contacting a plumbing repair service might be safer.
Step 4: Clean the Threads
After removing the old faucet, inspect the pipe threads. Using a cloth, clean off any old pipe thread tape or debris.
Step 5: Apply Pipe Thread Tape
Wrap the pipe threads with pipe thread tape. Wrap the tape clockwise to match the direction in which the new faucet will be installed.
Step 6: Install the New Faucet
Screw the new faucet onto the pipe by hand, turning it clockwise. Once hand-tight, use a wrench to give it an extra turn, ensuring a snug fit. Be careful not to overtighten, as this can damage the threads.
Step 7: Test the New Faucet
Turn the water supply back on and test the new faucet by opening it fully. Check for any leaks around the base. If you notice leaks, turn the water off again and ensure the faucet is properly tightened and the thread tape is applied correctly.
When to Call a Plumber
Sometimes, replacing an outdoor faucet isn’t as straightforward as it seems. If the pipe is damaged, the faucet is stuck, or there are hidden plumbing issues, it’s best to contact a professional plumbing service in Lake City.
Maintenance Tips for Outdoor Faucets
To keep your new faucet in good condition, follow these tips:
- Insulate in Winter: Use a faucet cover to protect it from freezing temperatures.
- Check for Leaks: Periodically inspect the faucet and surrounding pipes for leaks.
- Turn Off Water When Not in Use: If possible, shut off the water supply to the faucet during the off-season.
Benefits of Professional Help
While many homeowners can handle faucet replacement on their own, there are times when hiring a plumber is the best decision. Professional plumbing services save time and ensure the job is done right the first time. If you’re dealing with a more extensive issue, such as corroded pipes or a poorly installed faucet, a plumbing repair service can address the root cause and prevent further damage.
Mr. Rooter Plumbing
Replacing an outdoor faucet doesn’t have to be overwhelming. By following these steps, you can handle most faucet replacement projects confidently. However, if you encounter challenges or feel unsure, don’t hesitate to contact Mr. Rooter Plumbing. Whether you’re a DIY enthusiast or prefer leaving the task to a professional plumber, maintaining your outdoor plumbing is a simple way to keep your home running smoothly.